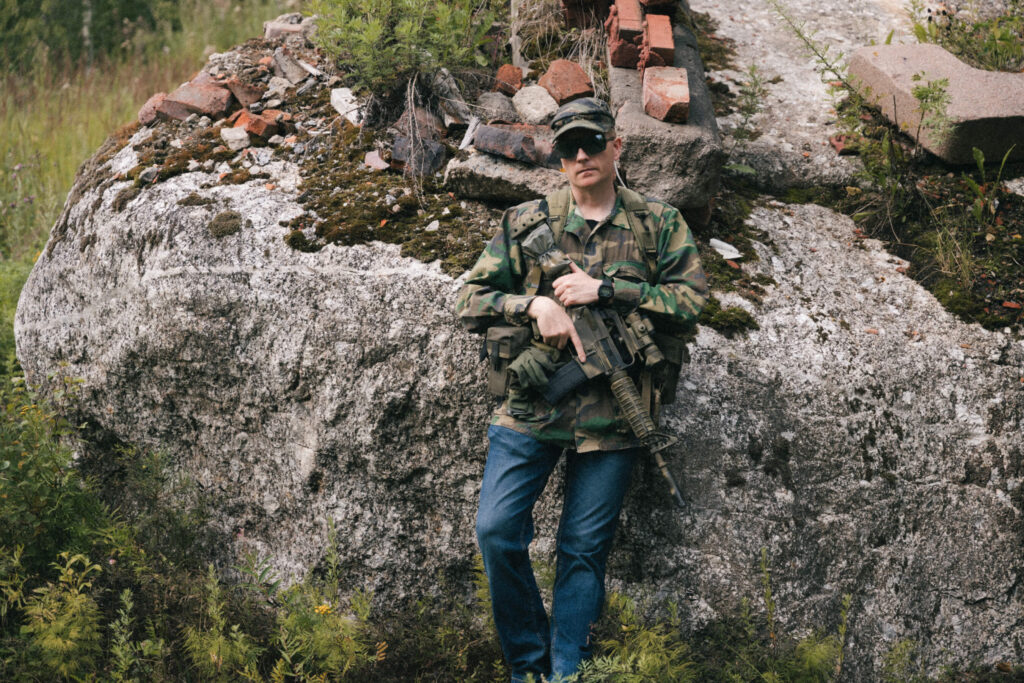
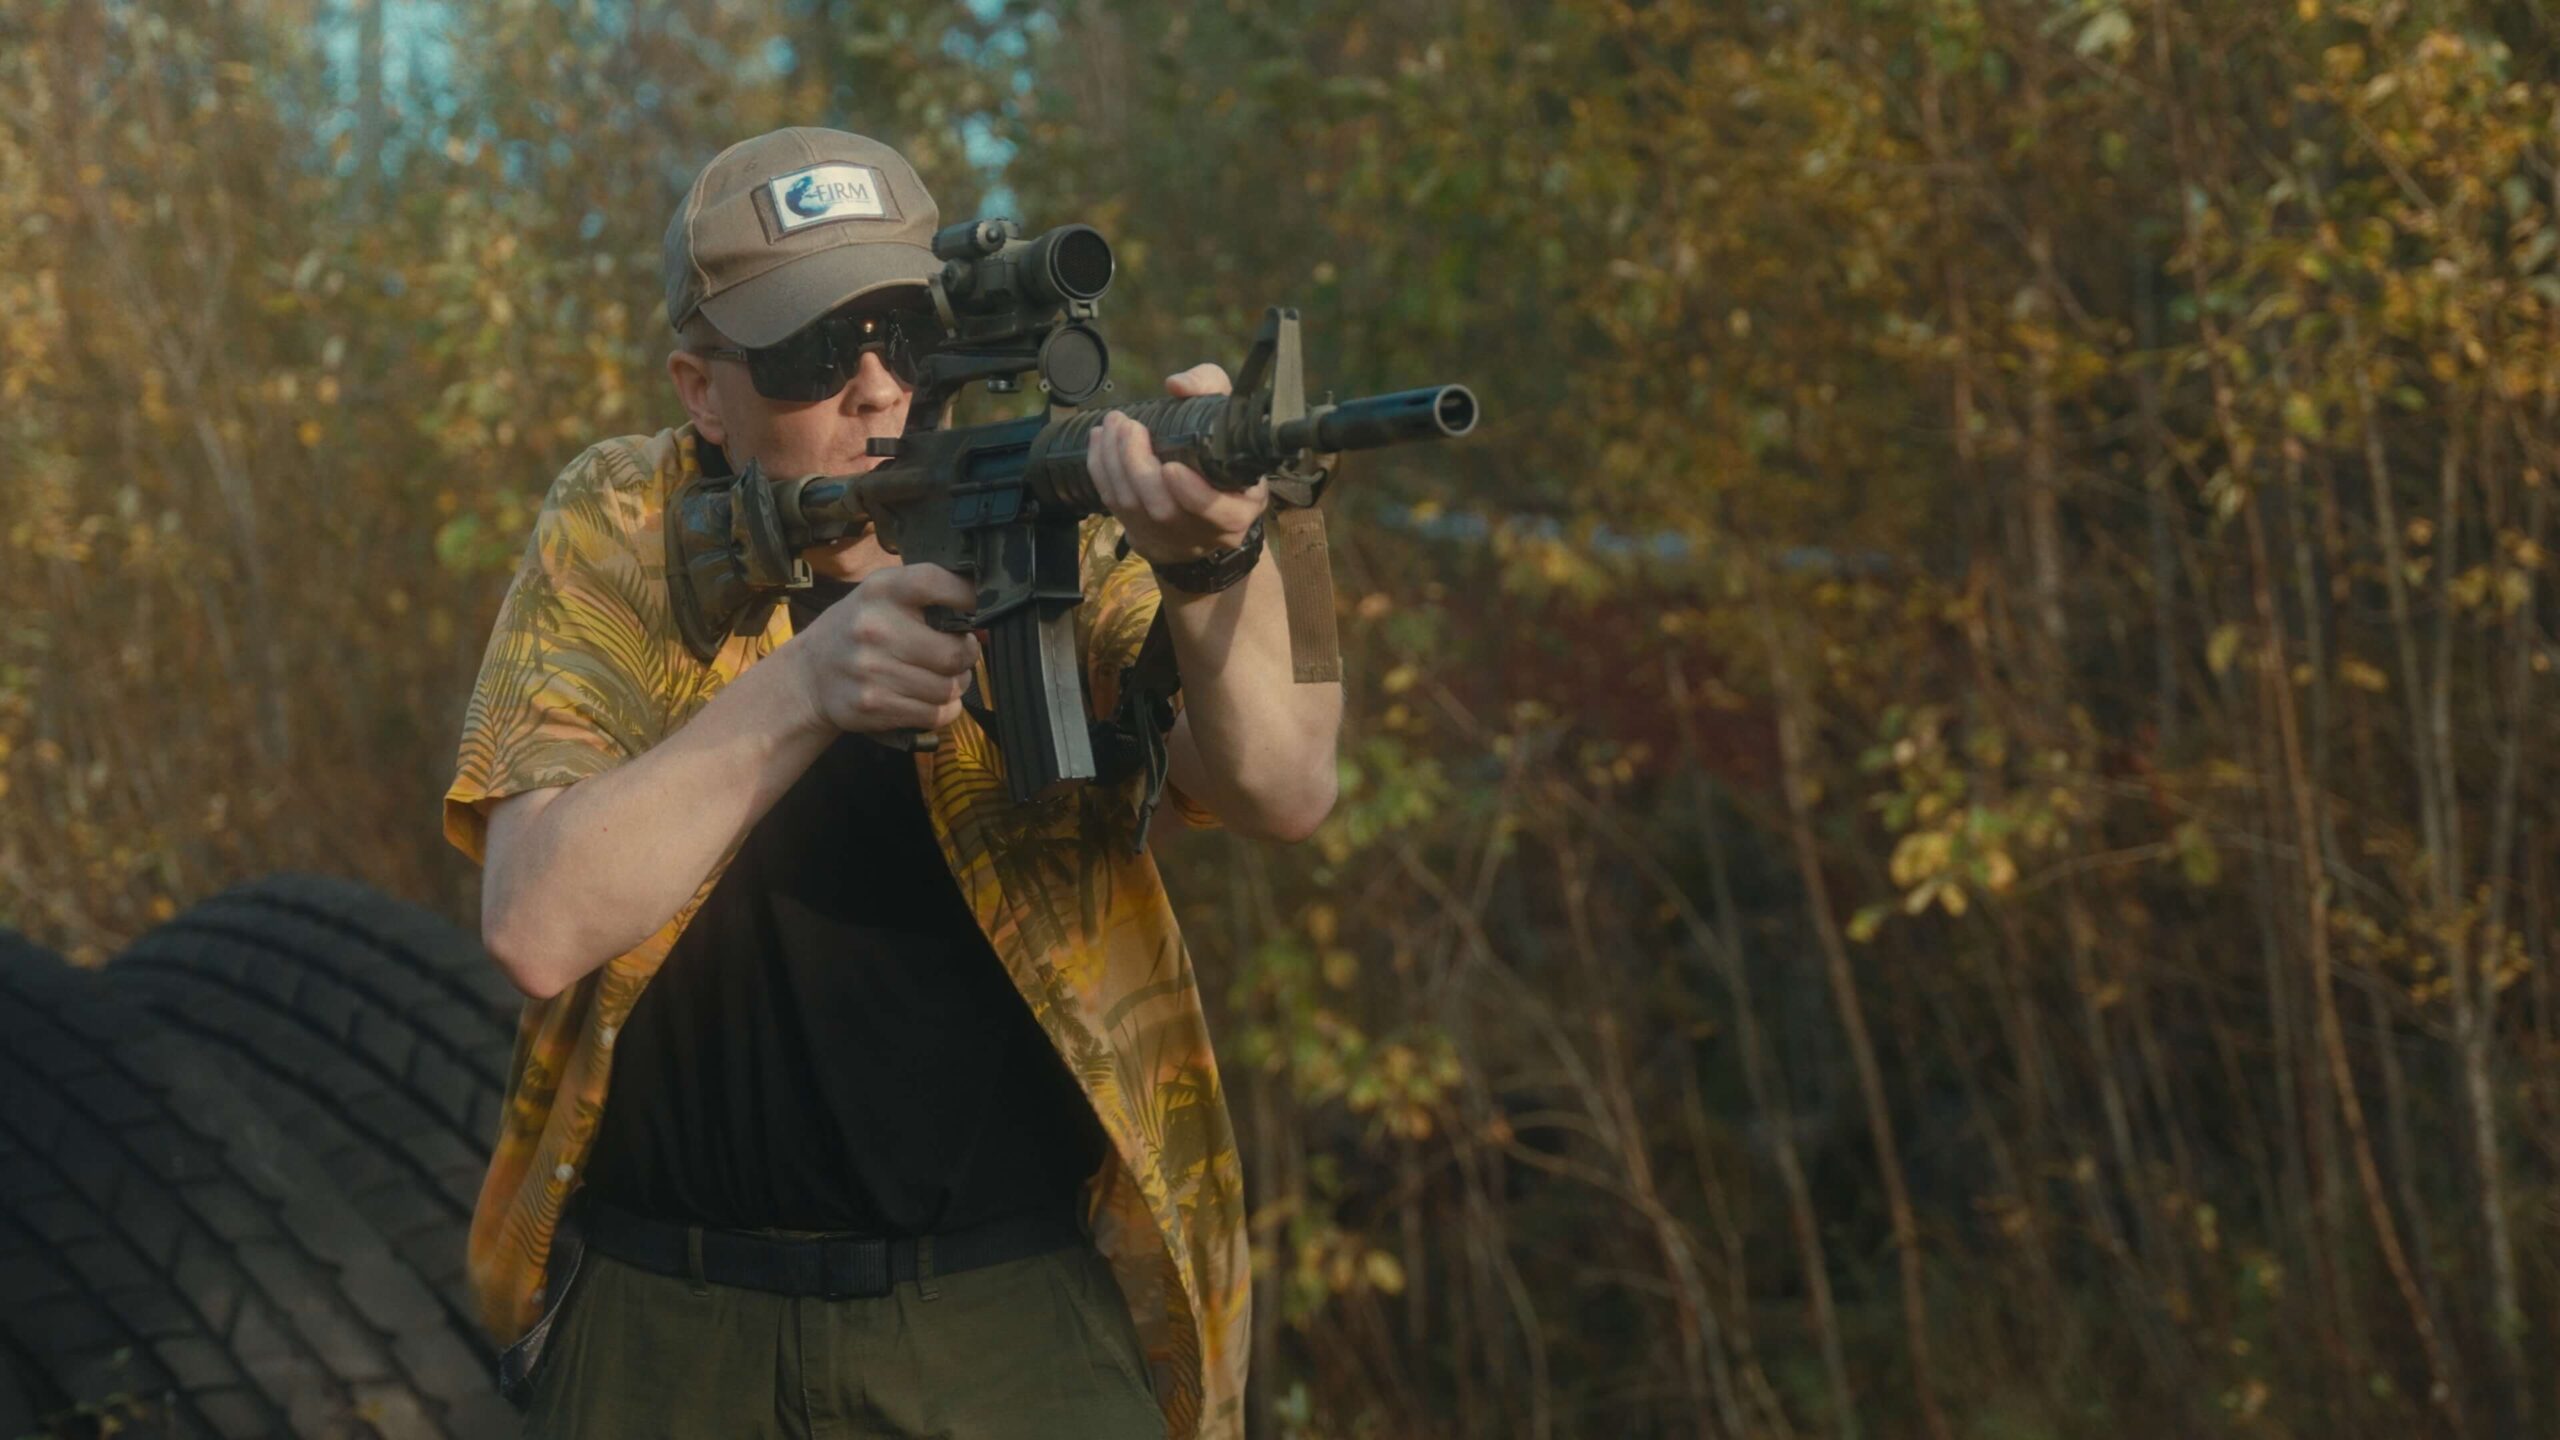
I knew I had to jump onto this train eventually. The “Blood Diamond Carbine” has been replicated so many times over the past years. Many say that Administrative Results on Instagram lit the fire on this, which turned into a wildfire of replicas of the weapon. One particular one I need to mention is by The Geardo Crow. I recommend you read his blog article about his Blood Diamond CAR-15 Breakdown. If you have watched Blood Diamond (2006) you know which carbine it refers to. During the last portion of the movie Danny Archer (Leonardo DiCaprio) uses it after acquiring it from a mercenary. I wanted to make something similar, but being me, I named my take The Green Diamond Carbine.
My take on this carbine is different. Not trying to replicate the carbine in a purist way, but instead creating something that is similar. Past posts have talked extensively about our mercenary style airsoft group, The Firm. It came in two parts. First part focused on the field operations part of the kits used and the second was aimed at the civilian and close protection side. The Green Diamond Carbine created through inspiration of the Blood Diamond carbine can do both of these.
Building the most epic carbine ever and back to (old) school

There was a time when I said that I would probably never return to old school kit. I should have know that was a bold statement. Some time off was needed for sure, and new things (modern kit) was tried on but that just did not have the same appeal as old school did. Since I sold my old G&P custom replicas, I had to build a new one. So here we are, with the Green Diamon Carbine. Loosely based on the rather iconic Blood Diamond Carbine.
The Green Diamond Carbine started as an idea for a more “non-reenactment” or even “impression” style kit that I wanted to do. It had to be old school, but I wanted to have the freedom to do stuff different and not be tied to too much constraints. There’s been quite a few builds done about the Blood Diamond Carbine. Since the mercenary thing is a big thing for me now, I wanted something that fit that and also would be rather kosher for old school.
The movie Blood Diamond had some really interesting rifles used by the mercenaries in the final scenes. And since that specific style has sparked some really cool airsoft builds by others, I wanted to add to those and make a version of my own. I did not want to make a perfect clone of the rifle used in the movie. Mainly because I like to do things my way and I did not want to make an impression out of it. The goal was to make a mercenary carbine that I could use on the kits I have around that theme, while at the same time being OK for old school style kits. So the build began with that.
I will go through the build and what I did to it both externally and internally. It has been a long time since I spent this much time on a replica, but I wanted something reliable and usable. This was meant as my new main replica, so I decided to spend some extra time and money on the internals as well.
Finding a base replica for the Green Diamond Carbine build

First I needed to find something to use as a base. It had to be something I could build up from rather easily. I opted for the Cyma XM177E2 (Cyma XM009F) from Milgear Finland. It needed some work, but it was a good base to start from. In hindsight, I probably should have got the E1 version with the shorter outer barrel. Just because I would love to get a barrel extension for this so it could be easily transformed to a M653(ish) if needed. But that is too late now and I just need to get the correct length to get that done.
The hand guards were also too modern, being the M4 style bulky ones. I had some G&P 6-hole slims which I replaced the stock ones with. Those just give it the finishing look. Overall the replica was where I wanted it to be after this. The stock buffer tube even has only two positions like the original ones. Still haven’t drilled a new hole for the stock to fit my needs, but that can be done later.
For the red dot, I went with a Holy Warrior Aimpoint Comp2. I have an old Aimpoint 3000 as well, but that is something I do not want to use daily. Just because of the collectible value it has. And it is not exactly correct if I wanted this to represent the Blood Diamond merc rifles. The Comp2 came with a tall mounting leg, which I replaced with a low L-mount that I had. It is most likely from my old G&P Aimpoint from way back in the day. Sometimes not getting rid of things pays off. I heard later that these L-mounts are tough the get. So points for me on that.
Once the externals were where I wanted them, it was time to get painting. I knew from the start that I wanted to add a paint scheme for this, though I usually like my replicas without. It was another decision I made based solely on the Blood Diamond movie and the fact that it would make it more personal and add to the mercenary look I was going for. I did add some wear to the paint, since I just don’t get out there often enough to naturally wear it. I have the patience of a dying man on this regard. After spending a lot of time on thinking where the wear would be based on how I handle the rifle, I was very satisfied with the end result.
Initially I used my Castellan/Kublai PMAG’s on this, but this build really needs some good old school metal magazines. I had some E&L magazines that I used in my previous old school rifles, so I bought some more of them. Absolutely awesome magazines that feed well. Did some wearing on them as well, of course. The PMAG’s feed well too, if you were wondering.
As for other external bits, I am using a custom made adjustable sling, a John Masen pad on the stock and I used a strip from a bicycle inner tire to strap a field bandage on the stock. Because why not. The Green Diamond Carbine needs some accessories.
The sling in question here was covered in depth in another article about slings I use. While it was written a few good years ago, it is till relevant so check that out if you want to read more about it.
Custom internals for better performance

The Cyma comes with its own mosfet pre-installed, along with metal ball bearings, steel gears, a polymer piston and a metal hop-up chamber. A fairly well working setup straight out of the box. You can make it better of course.
I usually change the hop-up, rubber and tensioner for something else straight away. Some new airsoft replicas do have some excellent ones installed, but some do not. On my old G&P replicas I replaced the hop-up combo to new ones, as the old style hop-up system was just not up to par with consistency. Same was true with the Cyma here.
There was some trouble finding a hop-up chamber that worked. Issues with feeding, air leaks and all things between. I have never really liked messing with internals, so I decided to get some expert help from Milgear. I have to note though, that I was able to successfully install a Gate Titan on this. Which I am rather proud of. Full auto did not work though, but this was fixed for me by the tech at Milgear.
For your information, you might need to put the white stickers on your Cyma’s stock selector plate. Mine did not work properly until these were attached. Even though the selector plate has the copper strips on it. This was the solution for the non-working full auto.
I cannot go into full detail on what exactly was done to the internals by the Milgear tech. I bought the hop-up parts for the job and asked if I could get between 1.5 to 1.7 joules out from it with 0.32g BB’s. They did an absolutely awesome job with this request, and it shoots at consistent power now. Air seal was fixed and some new, better parts were added into the gearbox.
The hop-up is a Specna Arms rotary hop-up, with a Maple Leaf Macaron 60 and Omega Tensioner nub. The inner barrel is stock as of now, as I did not see a reason to make an upgrade yet. The Gate Titan replaced the original mosfet. It is the rear wired version, since I like to run my batteries in the buffer tube. Since the mosfet unit is inside the gearbox, my 1200Mah 11.1v LiPo battery fits in perfectly. The stock has to stay fully extended, but that does not bother me at all. You can also fit a Titan 7.4v stick battery in the buffer, but with the upgrades done I will stick with the 11.1v LiPo.
Future Green Diamond Carbine videos and content – What is next?
To tell you all the truth, I never really thought I would end up doing this blog post or making a video out of this build. There has been no great ideas about videos in the past years, and I did not want to force it. I pushed on to other videography endeavors and airsoft things were left on the back burner. Maybe in the future, if there will be more videos and blog posts, they will combine airsoft and videography things. Kind of like what I did with the new Short ‘n’ Sweet video of the Green Diamond Carbine available on YouTube. Go check it out through the embed above!
Much thanks for reading this far if you did. Stay cool, sports fans!

Leave a Reply